
Clothespin Bag Supplies
1/2 yd each of the following...
Already quilted fabric
OR (if you want to make your own quilted fabric)
Print A (outside of bag)
Print B (inside of bag)
45" wide batting
3/4" wide Velcro
you will also need...
a coordinating fat quarter to make your own bias binding
OR a package of already made 1/2" wide binding.
Thread, a hanger (wooden or metal is fine)
Step 1
Make a paper pattern piece using these measurements. NOTE*** finished width of bag is determined by the space between the side edges of the hanger. Measure your hanger and adjust the width of the paper pattern to the hanger you plan to use. In this case my hanger is 14 1/2" from edge to edge so that is what my pattern piece shows.

If using already quilted fabric use your paper pattern and cut out the bag. If your going to quilt your own piece, out of print A, Print B and the batting cut pieces measuring 18"x30" sandwich them together and quilt. I used stippling but you can quilt anyway you would like. When the quilting is done using your paper pattern cut out the bag.
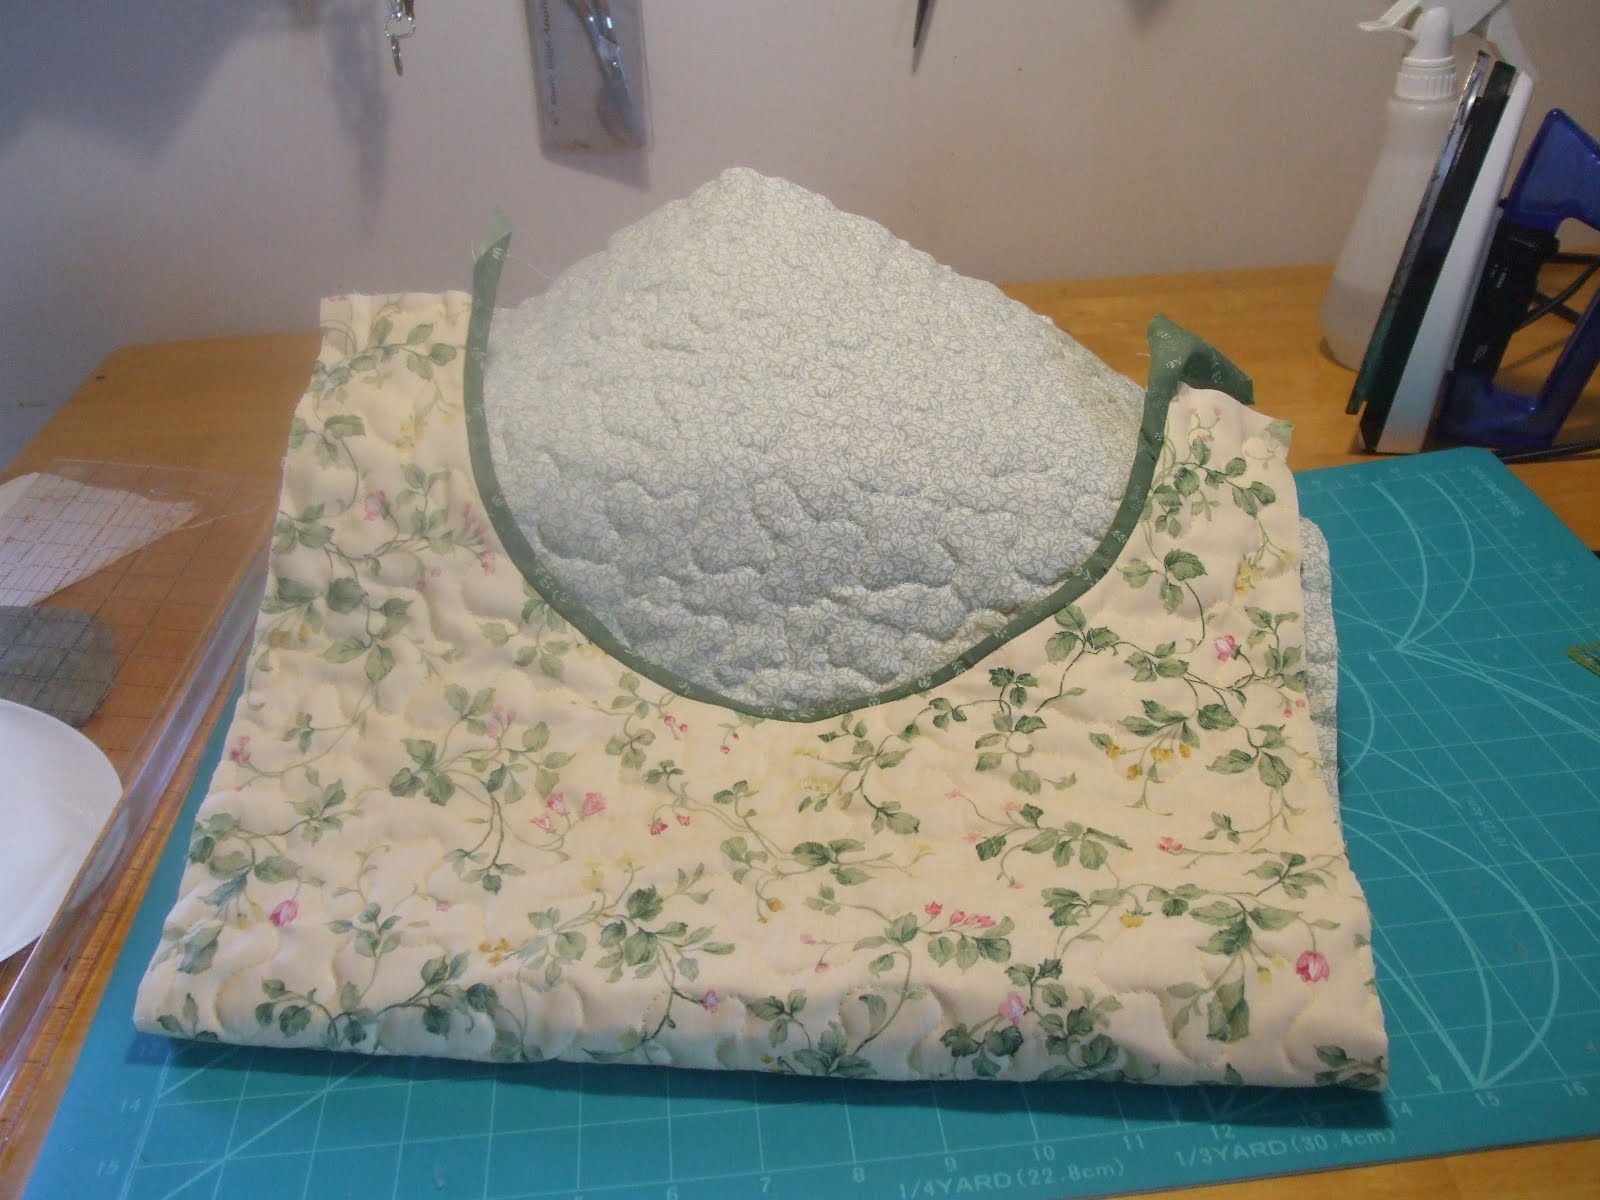
Step 2. Cut a 21" piece off of the bias and apply it to the curved opening. Every quilter/sewer has their own preference of applying bias so it is up to you. The outcome will be the same. Once bias is on it will look like this
Step 3.
With the quilted piece in front of you, place it so the right side(print A)is down and the cut out piece is toward your right hand. Fold the cut piece side up toward your left hand so that it measures 11" from bottom (fold) to the top of the cut out piece and pin in place so that this is what you have

Step 4.
Using a large spool of thread or something the size of a quarter trace curves around all 4 corners for rounded edges. If you would like square edges skip this step.
Step 5.
Mark your velcro lines and cut your pieces to the width of your bag. The first line being 1/4" above the top of the opening. Don't worry about those raw edges, the velcro is going to hide them. Place velcro to the right of the line, covering the raw edges, and stitch in place. Using the first placement line make another line 3" to the left of the first. Place your velcro to the left of this line and stitch in place as shown so your piece looks like this

Step 6.
Sew the rest of the bias binding all the way around the bag. Again, I'll leave it up to you how you apply it. Once the binding is done, if you would like, you can sew the buttons on. Place them so they are centered between the sewing lines where your velcro was sewed on. Now slide the top flap over the bar of the hanger and close

Step 7.
Make more for family and friends.
I hope you enjoyed my tutorial and will come back to visit again. If there is anything I can do to make this project more user friendly, please, let me know.
♥Michele
No comments:
Post a Comment